Exploring Midjourney and a brief note on other tools
Part 2: Exploring Chatgpt and best available AI tools

In next few articles I will try to explore different AI art tools . Lets try to get started on Midjourney first.
Currently Midjourney is not FREE , all you need to do to get started is go to
Sign in , subscribe and then join their discord.
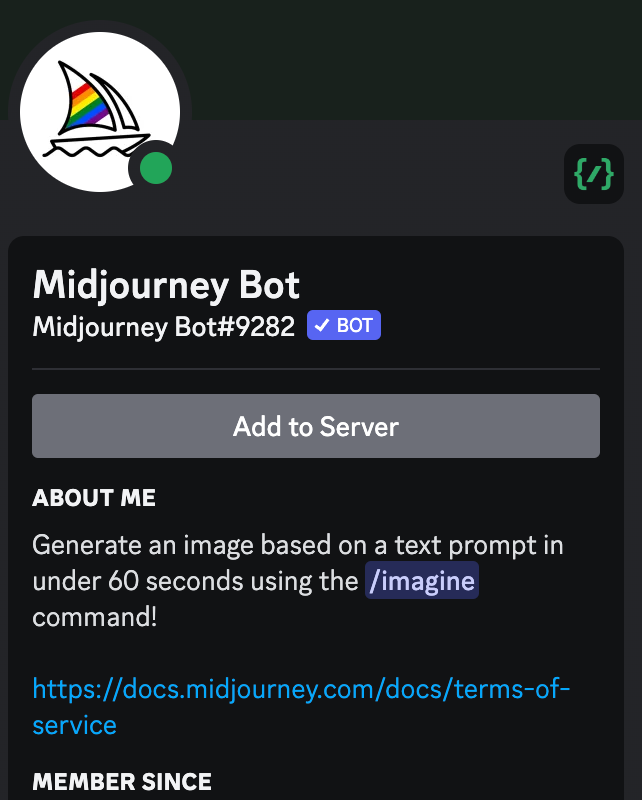
You can invite their bot to your server by clicking on Add to server as shown in screenshot after hovering your mouse on Midjourney bot.
Once done , lets start exploring different options:
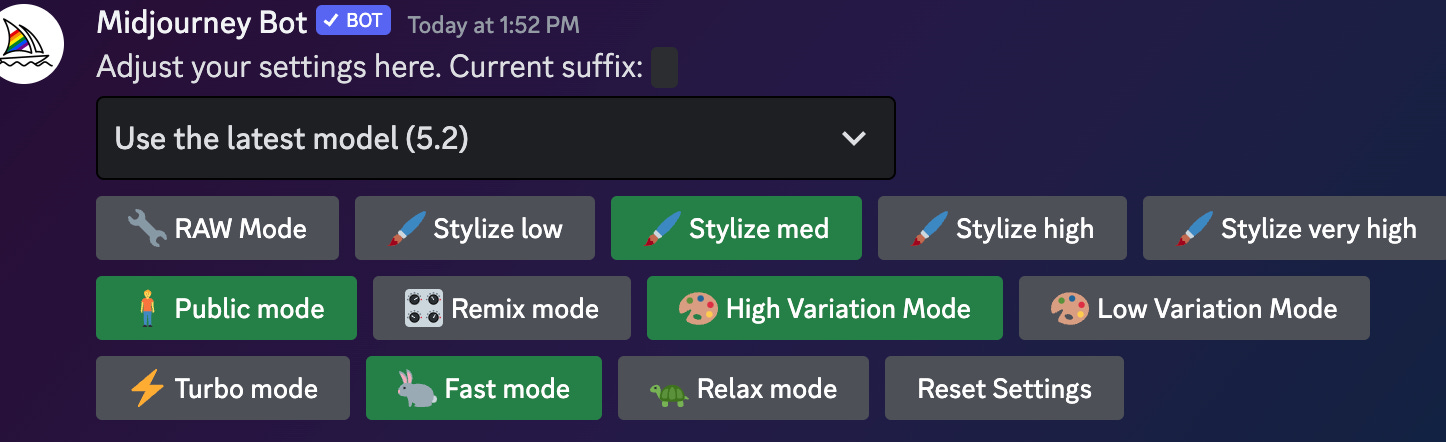
The way to start the bot is by typing the word /imagine, before that you can do /settings to set up midjourney , select the version you want to install etc
Writing your query
After the initial setup , lets write our first query
/imagine prompt goat and a boy
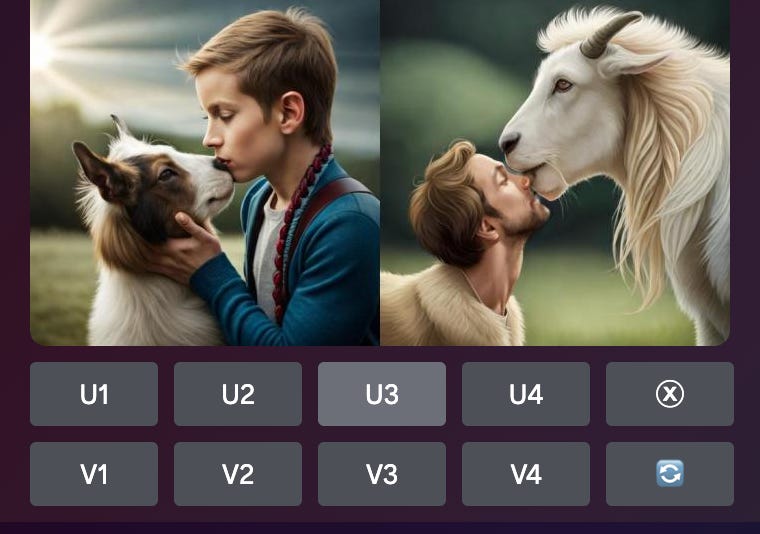
This is only 2 of the 4 images , the U1, U2, U3, U4 is used to select the image from top→left-right , bottom-left-right order, V1,V2,V3,V4 are used to create variations for the same. Blue button refreshes images completely without referencing previous images
Now let’s have a look at basic parameters:
Aspect Ratio or -- ar → Default aspect ratio for images is square which is 1:1 aspect ratio , you can use 16:9 for landscape images and 9:16
/imagine prompt goat and a boy —ar 16:9
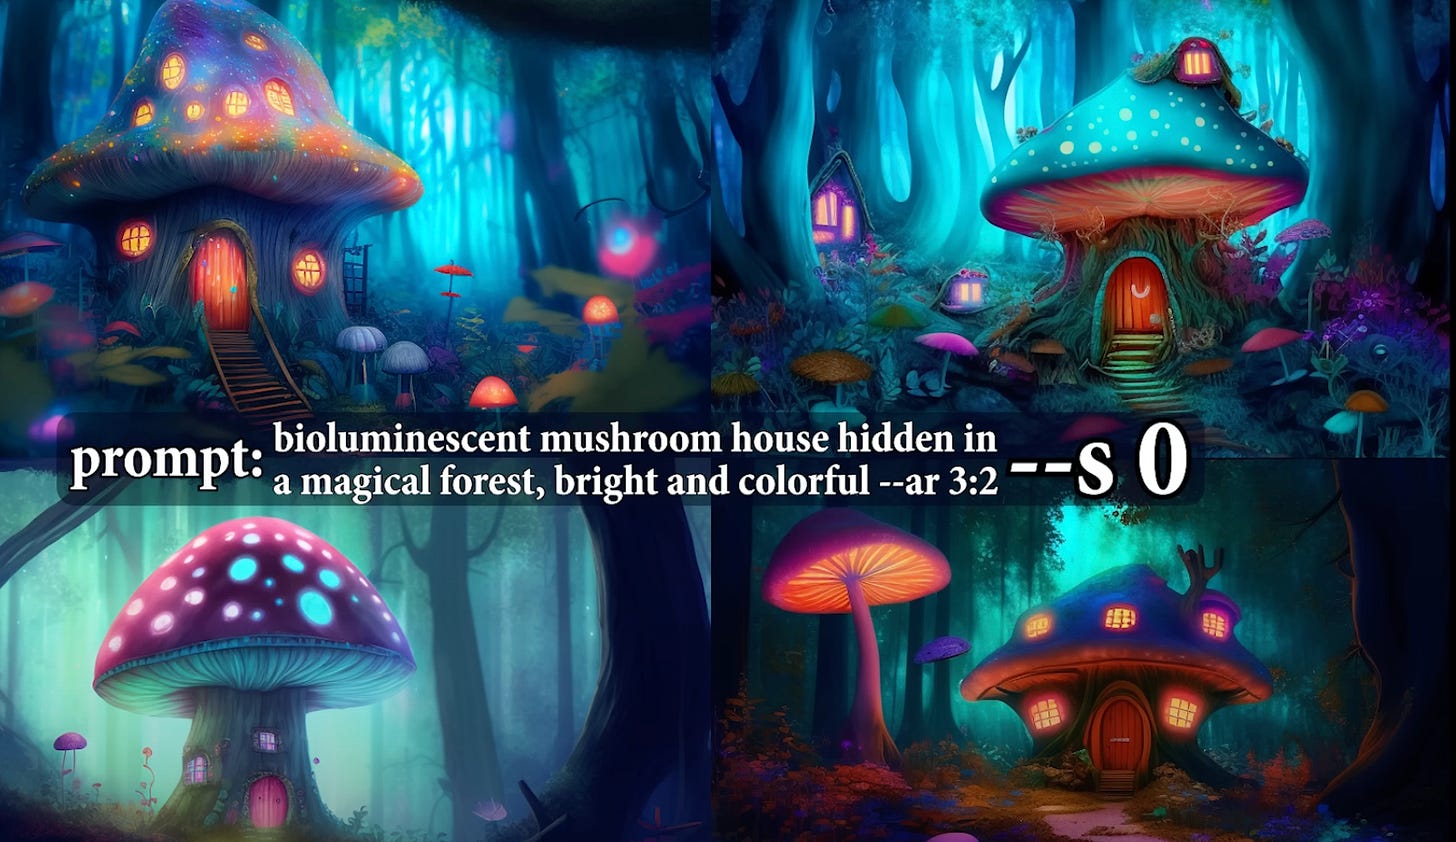
Stylised or -- s values [0-1000] → Low —s values means they will be close to the prompt but less artistic and higher values means they will be more artistic.
Adding details or —q[.25,.5,1]- Higher the number more the details
Chaos or —c [0-100] → If you want high variation between your 4 images , you can use chaos, the higher the value the more varied the 4 images
Negative prompting or —no → If you want images without certain element say you want a fruit bowl with no banana , you can use it
Creating tiles --tile generates tile like images
Multiprompt [part1]:: [part2] → say you want to get images of a dog who is sweating because of heat, if you give prompt as hot dog it will give you food item, In order to avoid situations like these you can give hot:: dog and this will work just fine. Adding a number after :: suggest how much weight you want to give.
Referencing previous images - This is an important concept, to reference images you have made previously you need to get the seed of the image . To get the seed , you need to react with Envelope emoji and then midjourney bot will dm you the seed . Once you get the seed you can simply write —seed #number to reference your image

Creating your own avatar:
In this section we will explore how to use an existing image maybe clicked by you or yours to generate different outputs.
First upload your image in some location maybe even discord server and copy the link.
Paste the link in the prompt followed by in anime style / in manga style etc and voila you have your avatar/stylised images ready.
You can use the parameter —v 4 to use midjourney 4 version etc.
Creating artistic images from your landscape photographs.
Upload your photograph, get the link as shown in avatar section and then follow the steps:
1) /imagine prompt “yourimagelink” as an oil painting —iw 3
Here I would like to introduce the concept of IMAGE WEIGHT , a lower iw allows midjourney to be more imaginative , which means it can also add its own elements while creating the painting.
Combining Images
There are two ways to do this :
The first way is to simply upload two or more images , and give their links as part of the prompt and midjourney will merge those.
The second way is to use “/blend” command and paste two images.
Describe command
You can use the describe command to get the prompt for the image you upload. This is like the reverse of what we have been doing so far.
eg /describe imageofme.jpg
which gives output /prompt person with blond hair , eastern looking etc…..
Creating Photo-Realistic Images
I have already explained the basics , now its all about the prompts
Creating photo realistic images require the use of intelligent prompts and basic idea of shots.
To create a realistic image you can use the following keywords:
Cinematic still shot, ultra realistic, cinematic color grading, detailed faces , dramatic lighting etc.You can write director, artist name , genre etc to get their unique style
Shot type prompt- Extreme long shot, long shot , medium shot, closeup shot , over the shoulder, Point of view, low angle shot, high angle shot, eye level shot, dutch angle shot, bird’s eye view shot, drone shot, Rule of thirds shot, candid shot,
silhouette shot , relaxed shot, over the shoulder shot
Cameras- Nikon D580, canon cinema EOS mark IV,
Lighting- Low key lighting, High key lighting , Rim lighting, Practical lighting, Motivated lighting
Emotion- Sadness, Anger , Happiness etc
Shading and contract - Soft shading, no contrast, high color gradient etc
Conclusion
With the knowledge of these basics , it is possible to create images to your liking . Now go out there and explore . The world is your oyster. In the next article of this AI tools series we will look at AI tools for trading and some art models such as DALL-E and stable diffusion.
Lastly a handy tip which can be thought of as GOD mode: For this you need to have ChatGPT Plus subscription. First copy past whole documentation of midjourney into ChatGPT, now ask it to use it to give prompts . You ask ChatGPT to act as Professional Photographer, Professional Painter etc to get the prompts as per your need.
I have also tried DALL E-2 and Stable diffusion models but they aren’t even close to Midjourney . Learning wise DALL E-2 requires only proper prompts with no additional parameters required and Stable diffusion requires you to download the software first but is the worst of the three. It has a few models which you can try but the outputs aren’t to my liking. Leonardo.ai, STOCKImg, Adobe Firefly and Bluewillow are other possible options , leonardo.ai has an easy interface and is suitable for beginners but none is as good as Midjourney.